As Promised. A Few Days Later than Planned (Yikes!)–
Short Pencil Skirt Refashion Notes.
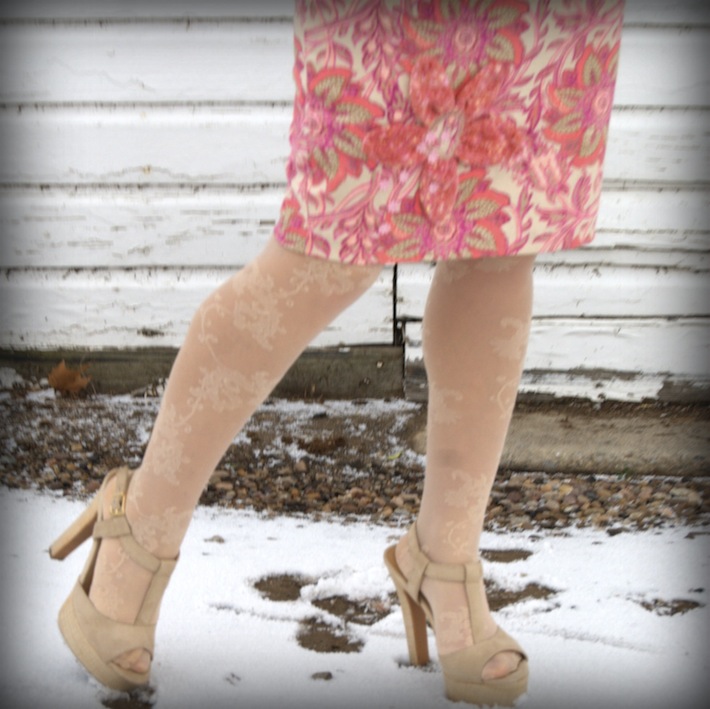
When I saw this pink skirt at the thrift store I fell in love with the fabric… bright and playful in a quality fabric with a good hand.
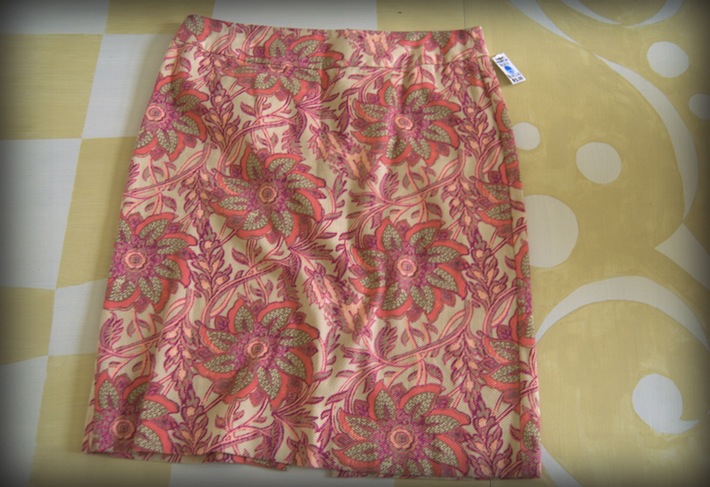
I was actually glad that the skirt was too big; that meant I could cut and sew it down to fit exactly. The biggest issue (in my opinion) is reconfiguring waistbands…but there are ways. I’ll address that another day.
Cutting down and sewing is exactly all this skirt needed. The waistband was way too big for my waist, but I discovered it did hang nicely on my hips (“hang” being the key word–don’t want a skirt that clutches or pinches or imprisons). I like that…if the top that I wear over a low-slung skirt is fitted, my waist will still look smooth.
So I left the waistband alone.
I found the shape for my new skirt by trying on the thrifted skirt inside out, letting it hang down on my hips, pinching the excess fabric out evenly on both sides, and pinning against the shape of my body, with enough allowance for comfort and movement. I pinned to mark the new hemline (I shortened the skirt quite a bit), and took the skirt in quite a bit more at the knees than at the hips; I wanted, after all, a short pencil skirt.
Leaving the pins in, I took the skirt off and folded it in half lengthwise, lining up left and right side seams to make sure that the pins matched up evenly on both sides, and following the pins (like dot-to-dot), I drew my new side seam lines with chalk. Which new side seam lines I sewed, following the chalk lines with my sewing machine. Note: Though I didn’t cut away the original seam until after I’d tried on the skirt with the new seam, I did undo the hem on the original skirt before I sewed in the new side seams, so the back and front of the skirt would lay flat while I sewed the new seams in.
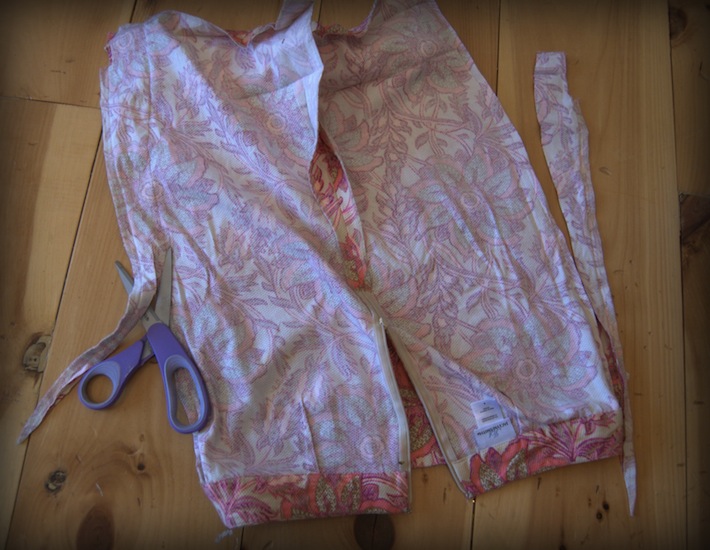
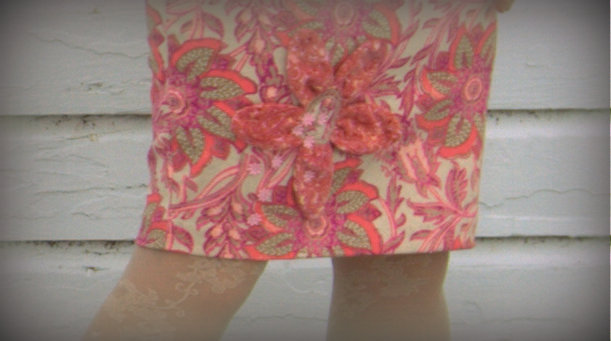
Wanting to emphasize the whimsy of the skirt’s fabric, I decided to appliqué a couple of flowers on it. I dug around in my fabric remnants and found some pink printed corduroy (I’ve had it for close to fourteen years?) that seemed perfect for my new skirt details. Actually, maybe too perfect…my appliquéd flowers blend to nearly invisible. But. I’ll tell you how I did them anyway.
First I cut out petals in a very simple shape, like a tall hill—with a back side and front side for each petal, because I wanted 3D flowers (which actually does help to make them less invisible).
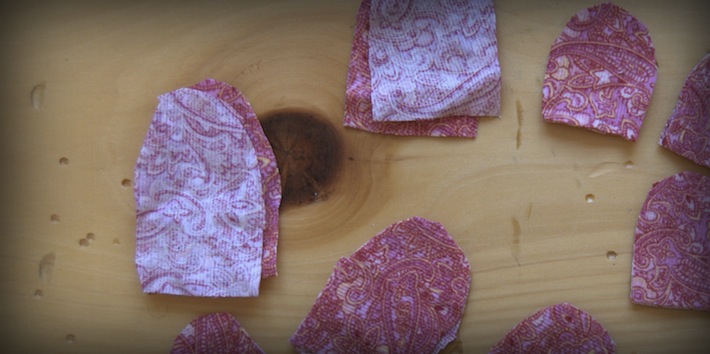
I sewed the fronts and backs of the petals right sides together using a chain assembly technique I learned piecing quilts together. You start with the first petal, put it under the foot of your sewing machine, sew (leaving 1/4 inch seam allowance), reach nearly the end of the seam, and without lifting the sewing machine’s foot, feed the next petal (front and back right sides together again) through same as the first, and the next, and the next, and so on til all the petals are assembled. Very efficient.
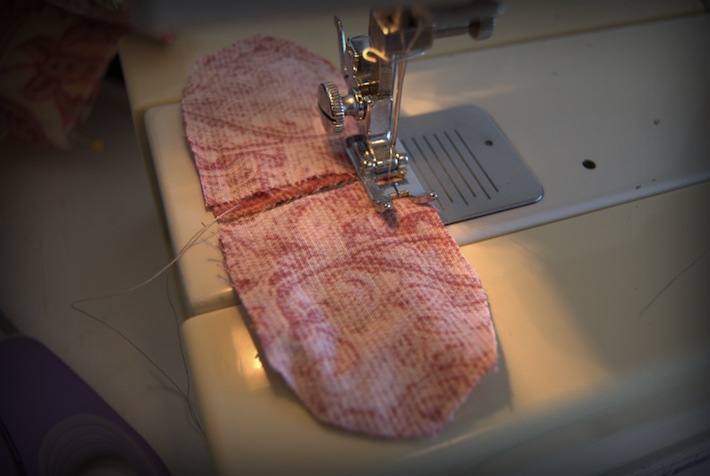
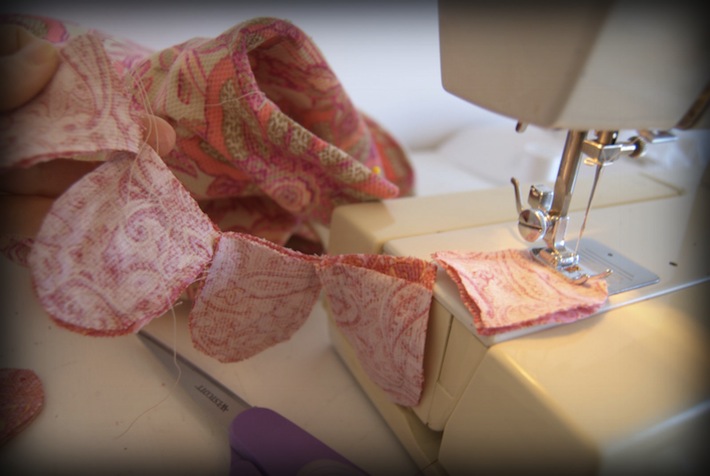
I turned the petals right sides out (this is a lot like making little pillowslips), lined them up in a row side by side, and once again fed them through the sewing machine together in a chain, this time sewing only through their unfinished bottom edge with a loose gathering stitch (1/4 in seam allowance). I gathered the lined-up petals by pulling the bobbin thread at the bottom, which gave the petals a nice pucker. (Note: when gathering, it is a good idea to have a very sturdy thread— like heavy duty or even upholstery thread—in the bobbin so it pulls easier without breaking…Or…use a gathering foot! I understand they really do exist!).
After gathering the flower petals, I arranged them in a ring…finally, they looked flowerish.
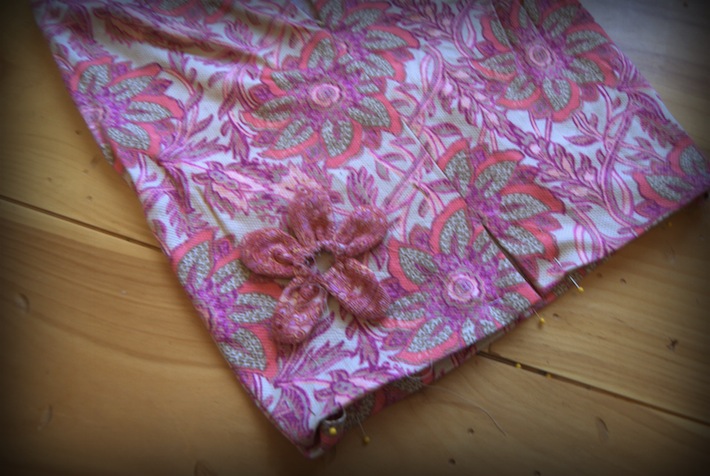
But there were still those raw edges…I made a flower center to cover the edges by sewing two circles of fabric right sides together, and then cutting slits in the back side so I could turn the finished circle inside out. It might have been easier and less bulky to make a “yo-yo”, an old quilt element…but I’ll leave that for another day too.
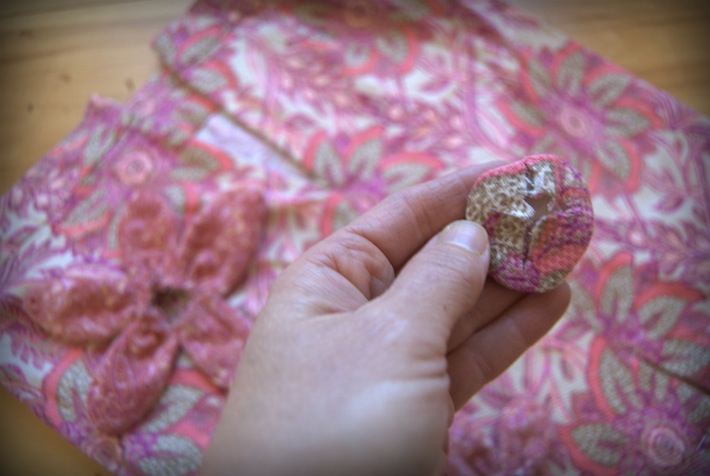
I made two flowers, one for the skirt front and one for the back. I tacked the flowers onto the skirt petal by petal and in the center. I could have left the flowers free to flop and wave, only tacking down in the center…which might be endearing… Hmm. Perhaps I have control issues. Well. I hemmed the skirt using a wide hem (for weight) and a blind stitch. I was very pleased with this project, in the end.
(PS: I think I could have used quite a few more photos to illustrate these notes, so I will be doing another skirt similar to this one soon, with lots more photos and better notes to share. I nabbed a wonderful yellow plaid wool skirt at the thrift store a couple of weeks ago…only to get it home and discover that it is quite moth-eaten. Cautionary tale, but never fear; I think I’ll appliqué a few little details on it, lest I find myself wearing yellow plaid cheesecloth in January).

Comments on this entry are closed.
This is a brilliant idea, it turned out beautifully. I love how you took the time to add the fun appilque. Thank you for sharing this with us.
Thanks Trina.
Wow!! So talented!!! I wish I had that in me. My poor Pfaff sits unused in my closet begging me for a project!
Wonderful re-working on the skirt! Thanks for sharing the how-to with Visible Monday.
Great idea! Cute skirt. Thanks for sharing at Pinworthy Projects.